
Orthopaedic Techniques — MCQs

On this page
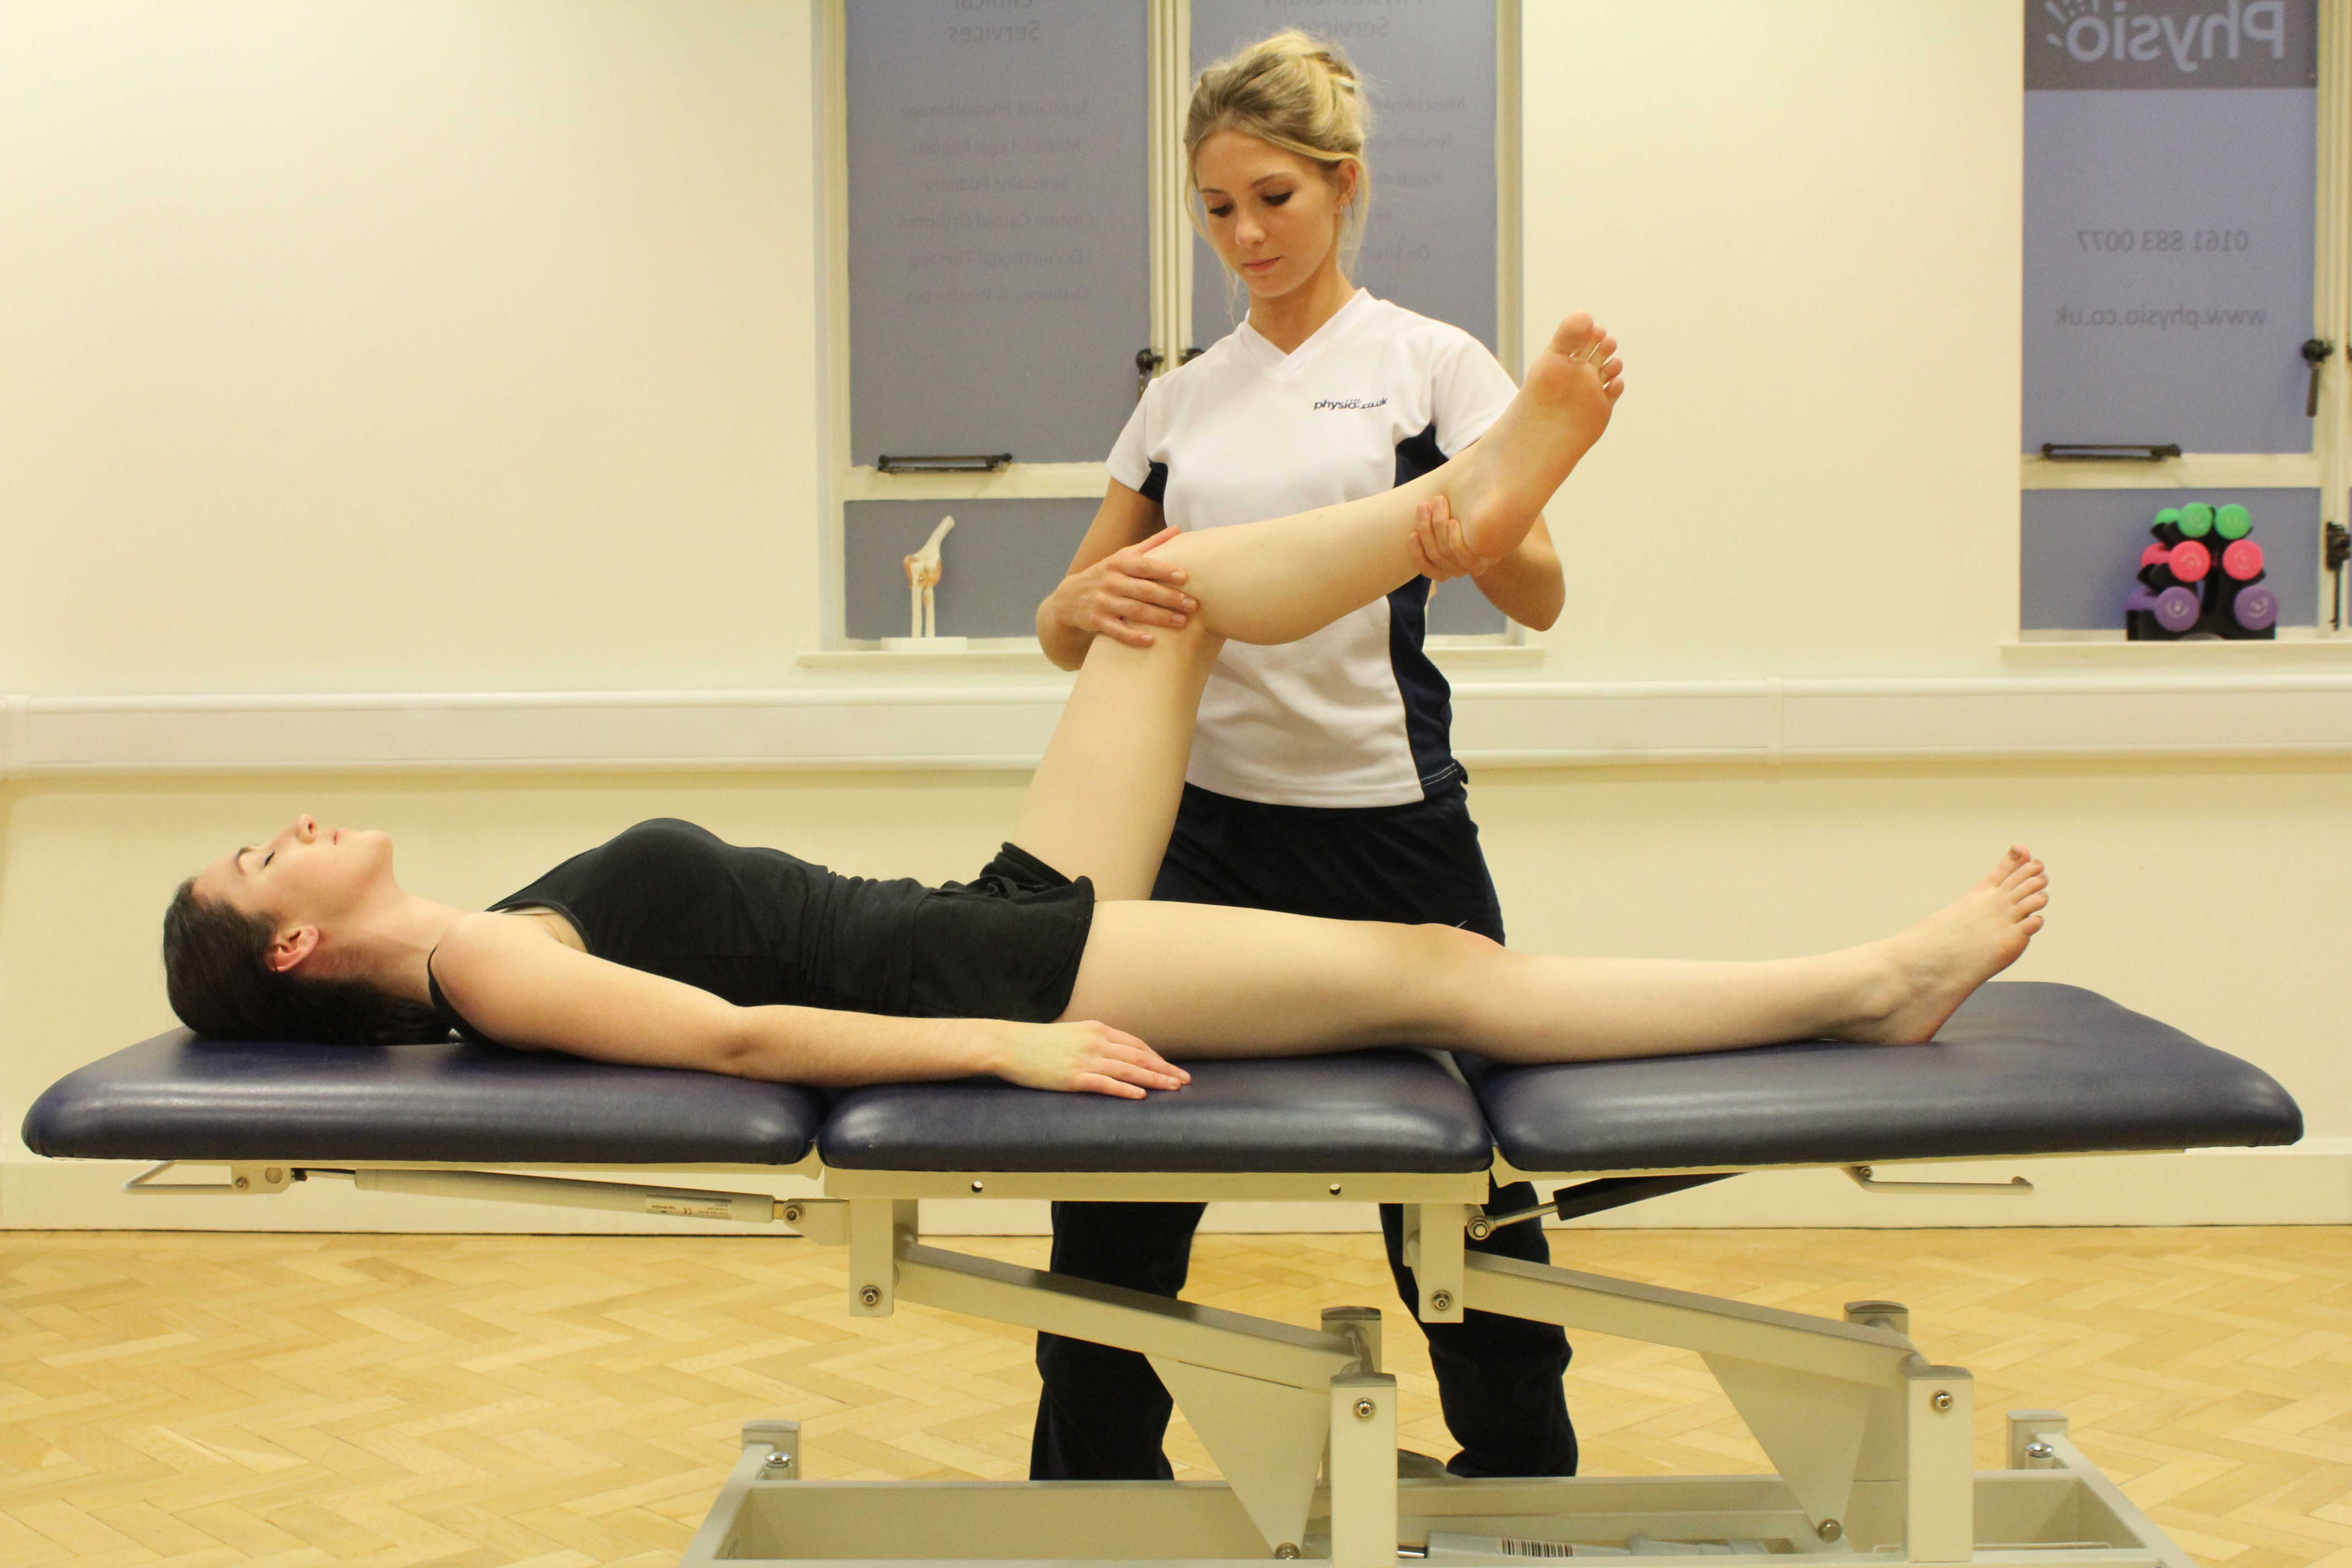
Which test is being done in the image provided?
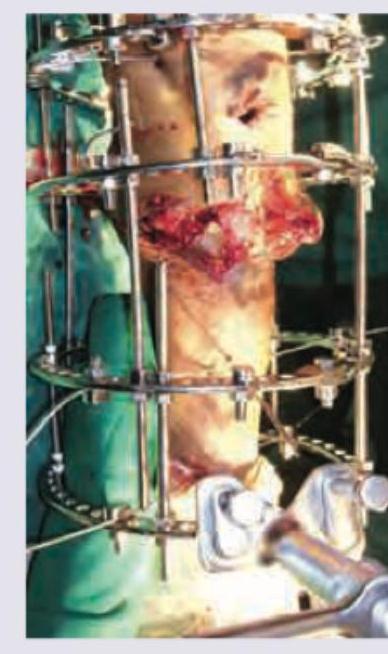
What does the given image show?
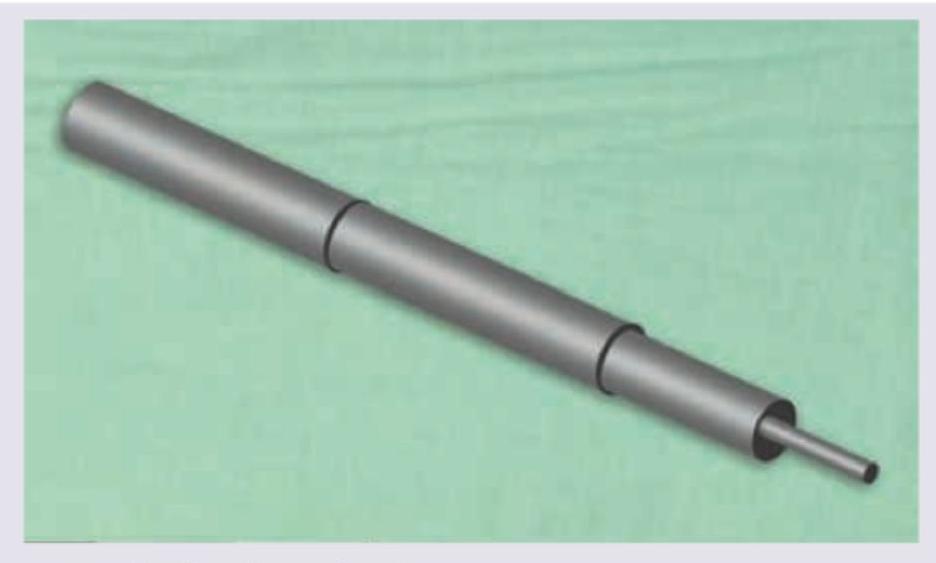
What does the given image show?
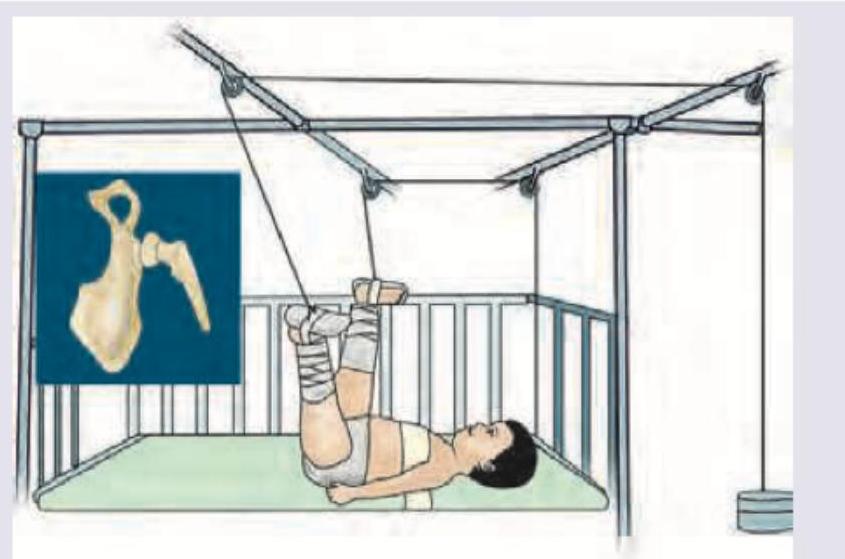
Identify the traction show in the image:
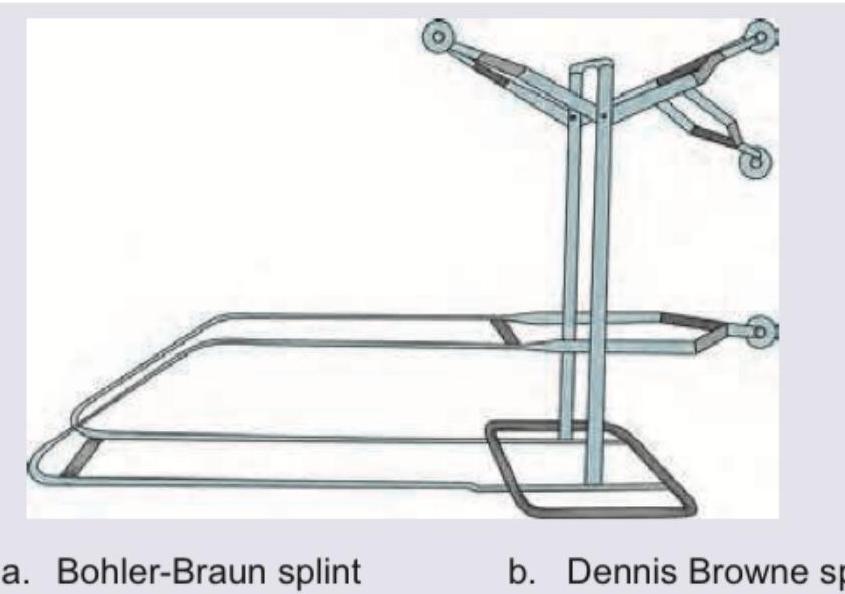
Identify the splint shown in the image:
The image given below demonstrates which of the following tests being performed on the patient?
What is the principle of the method shown below?
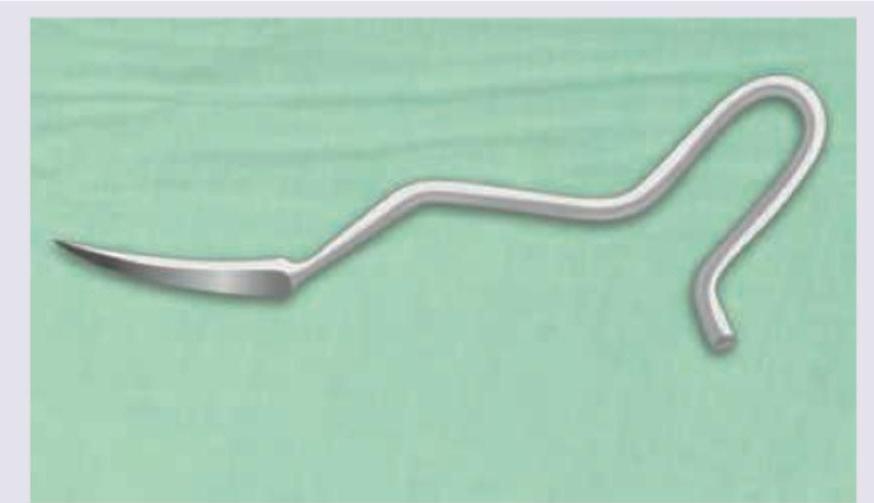
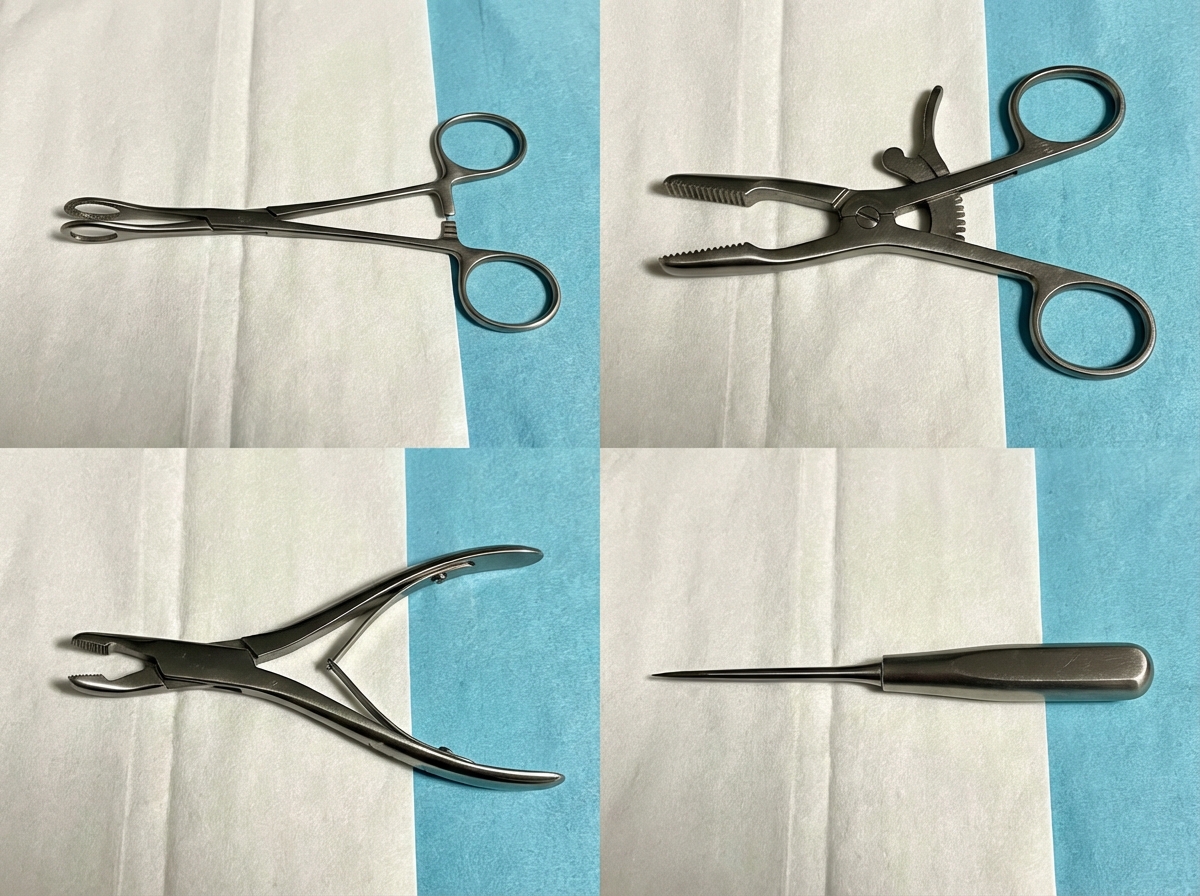
Which of the following is the bone holding instrument used in orthopaedic surgeries?
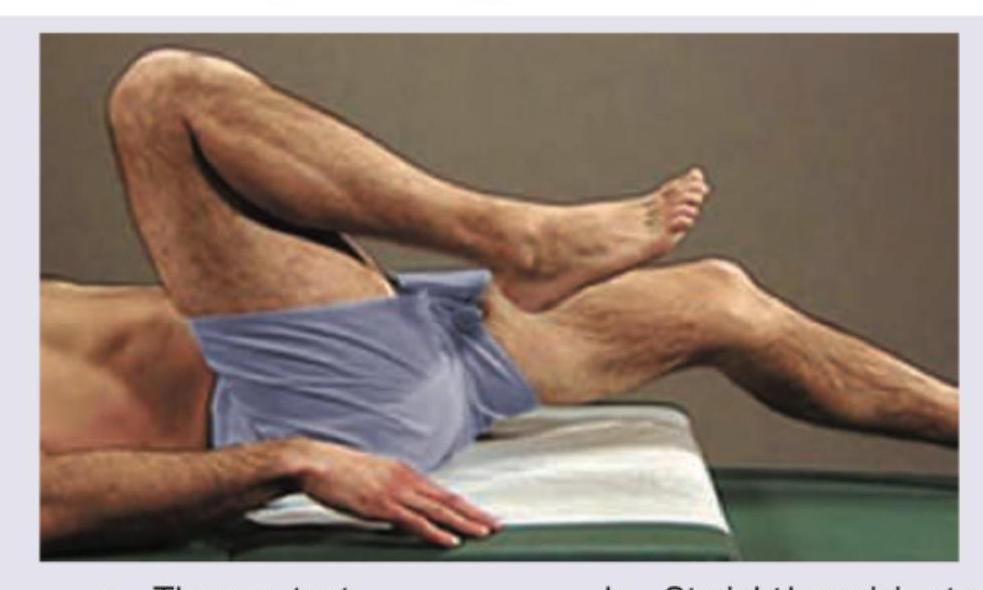
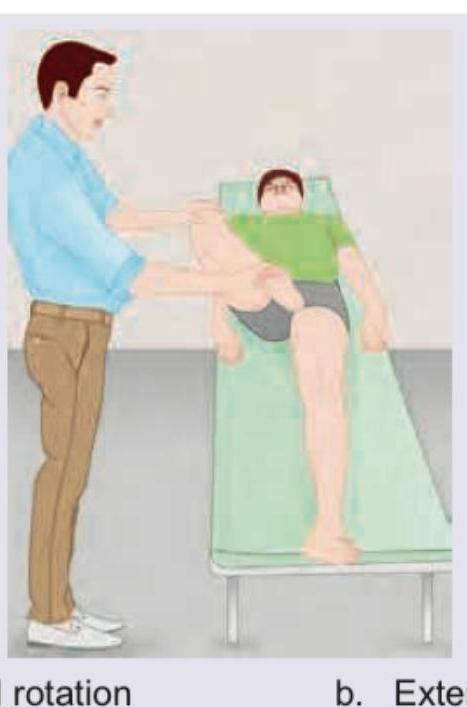
Which position is being tested on the patient in the image shown below?
Myodesis is employed in amputations for all of the following indications except:
Practice by Chapter
Principles of Internal Fixation
Practice Questions
External Fixation
Practice Questions
Intramedullary Nailing
Practice Questions
Plate Osteosynthesis
Practice Questions
Tension Band Wiring
Practice Questions
Minimally Invasive Orthopaedic Surgery
Practice Questions
Arthroscopic Techniques
Practice Questions
Suture Techniques in Orthopaedics
Practice Questions
Navigation and Robotics
Practice Questions
3D Printing Applications
Practice Questions
Bone Grafting Techniques
Practice Questions
Local Flaps and Soft Tissue Coverage
Practice Questions
Want unlimited practice?
Get full access to all questions, explanations, and performance tracking.
Scan to download app